Easy steps to install Starlink internet at home in Kenya are in high demand as more households and businesses seek reliable, high-speed connectivity. Starlink provides satellite internet that works in areas with poor or no traditional broadband. With proper setup, you can enjoy fast, low-latency internet suitable for streaming, remote work, and online learning.
Why Choose Starlink in Kenya
Kenya has many regions with limited broadband infrastructure. Starlink offers:
- High-speed internet even in remote areas.
- Low latency for smoother video calls, gaming, and business operations.
- Easy setup without digging cables or waiting for local ISPs.
- Scalable service for homes, offices, and small businesses.
Equipment You Need
Before starting, make sure you have:
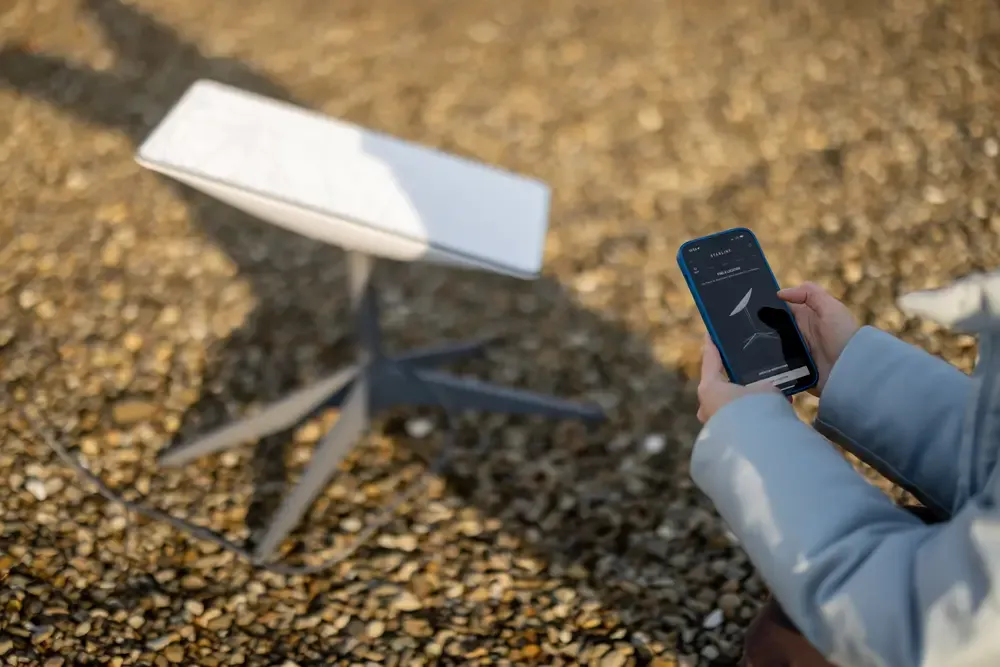
- Starlink Dish (Dishy McFlatface) – the satellite receiver.
- Router and Power Supply – included in the Starlink kit.
- Mounting Hardware – tripod or roof mount.
- Mobile Device – phone or tablet for initial setup.
Step-by-Step Starlink Installation
1. Choose the Best Location
- Select an open space with a clear view of the sky.
- Avoid obstructions like tall buildings, trees, or hills.
- Roofs, balconies, or tall poles work best.
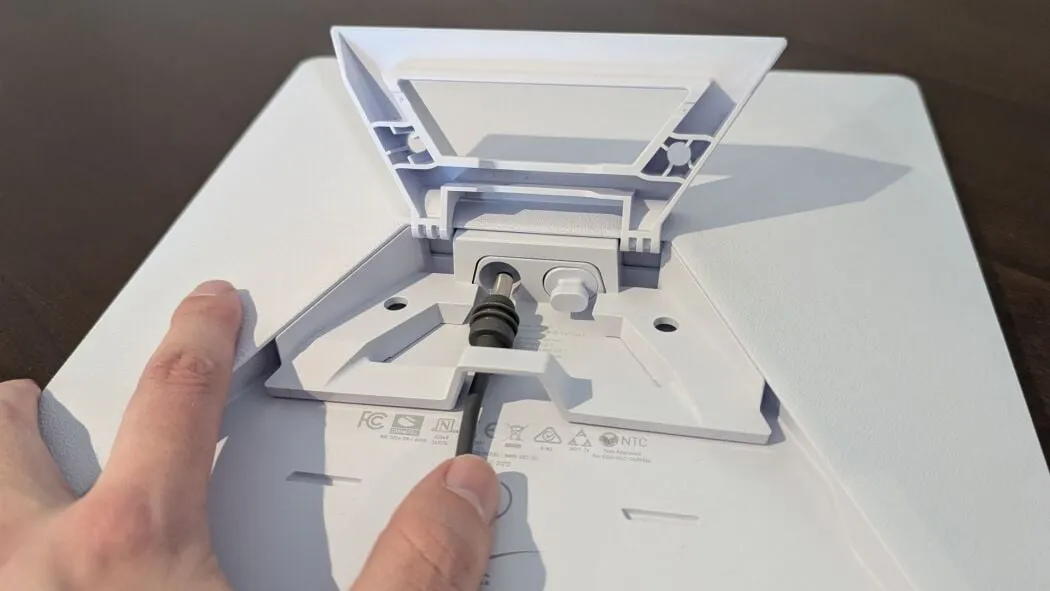
2. Assemble the Dish
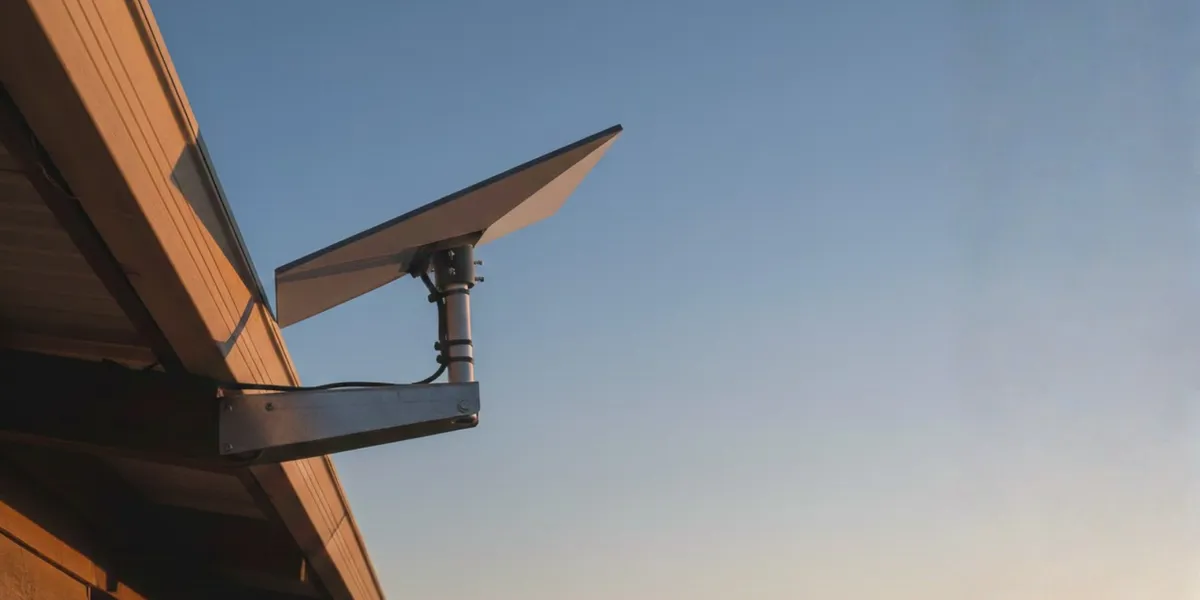
- Attach the Starlink dish to the tripod or mounting bracket.
- Connect the power cable to the router.
- Ensure the dish is stable and level.
3. Connect the Router
- Plug the router into the power supply.
- Wait for the router lights to stabilize.
- Use Wi–Fi or Ethernet to connect your device for setup.
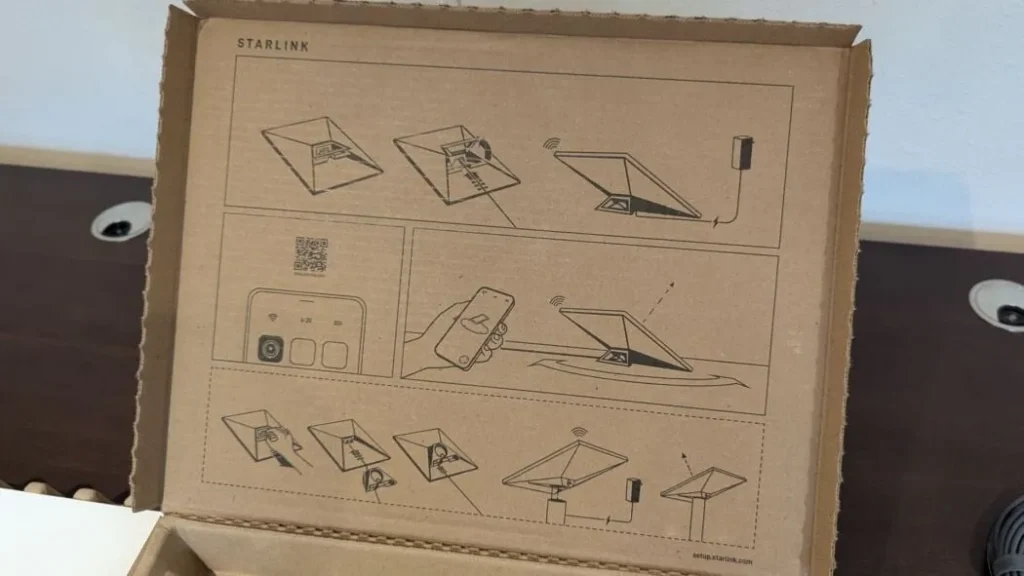
4. Configure Using the Starlink App
- Download the Starlink app on your phone.
- Open the app and follow the prompts to detect the dish.
- Confirm the location for satellite alignment.
- The dish automatically adjusts to find satellites.
5. Test Internet Speed
- After the dish connects, check speed and connectivity using the app.
- Adjust the location slightly if the signal strength is weak.
6. Secure the Setup
- Fasten the mounting securely to avoid wind damage.
- Use cable management to prevent tangles and wear.
Tips for Optimal Performance
- Regularly check the Starlink app for system updates.
- Remove snow, dust, or debris from the dish in extreme weather.
- Avoid nearby metallic structures that could interfere with signals.
- For office setups, consider PoE or longer Ethernet cables for stability.
Professional Support in Kenya
Many Starlink users in Kenya face challenges with positioning, cabling, or connecting multiple devices. Vinarq Solutions offers expert installation services, troubleshooting, and guidance to ensure reliable Starlink internet for homes and businesses.
Conclusion
Installing Starlink internet at home in Kenya is straightforward with the right equipment and guidance. By following these steps, you can enjoy high-speed satellite internet in remote areas or homes with unreliable broadband.
For professional Starlink installation, setup assistance, or expert advice in Kenya, contact Vinarq Solutions via WhatsApp +254745108788. Experience fast, reliable internet today.